Sunday, October 28, 2012

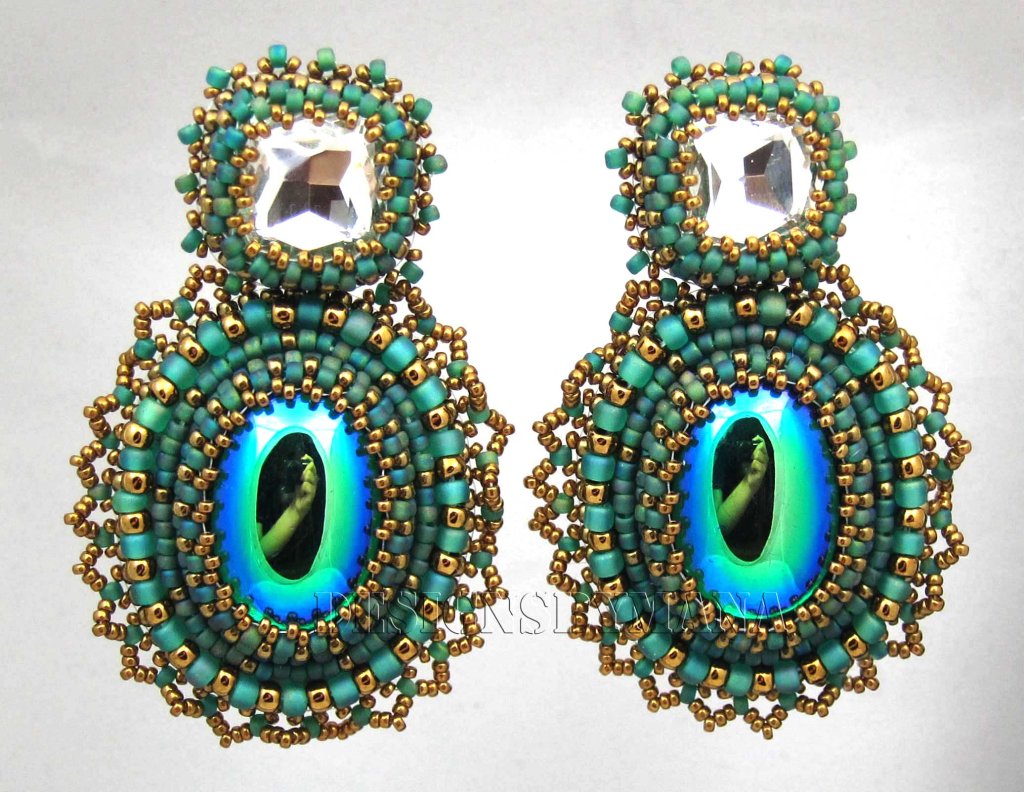
Vintage Green Earrings


When I first decided to do bead embroidery it was all because of a video on Youtube by Beadaholique. I didn’t know anything about bead embroidery even though I had done a lot of just random beading at my fashion jobs .i really didn’t have a clue where to start so I went ahead and bought the stuff that was mentioned in their video plus some vintage German cabochons that they had on their website. I loved the German cabs I got from there specially the green and purple ones I had purchased. Since they only had a limited number of cabs left and these were vintage stones I decided to go ahead and buy out the rest of the green and purple cabs that they had in stock. i am so glad I did because they haven’t restocked these cabs again and I haven’t been able to find them anywhere even though I have been looking constantly.
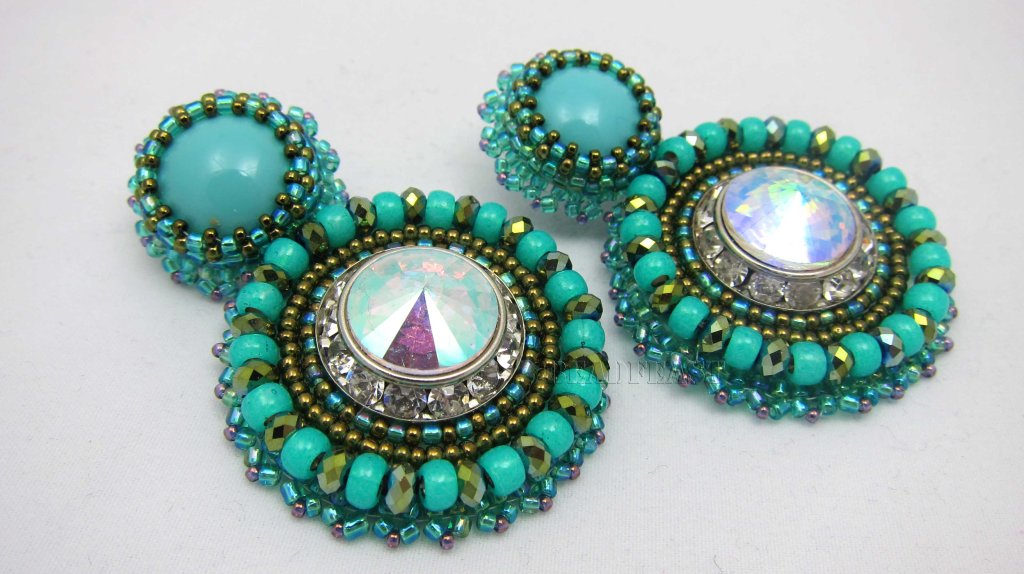
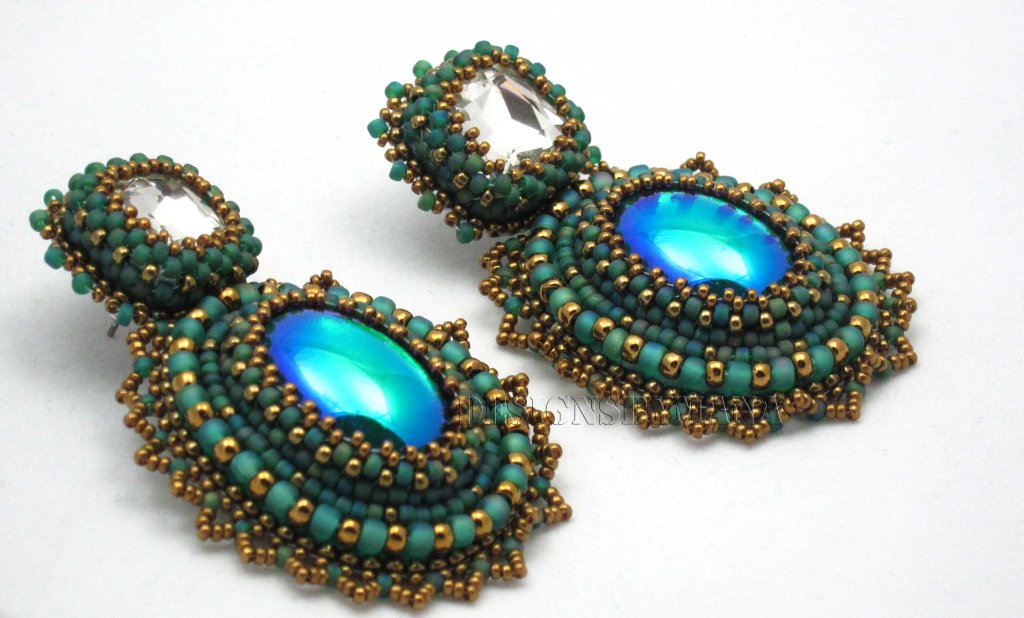
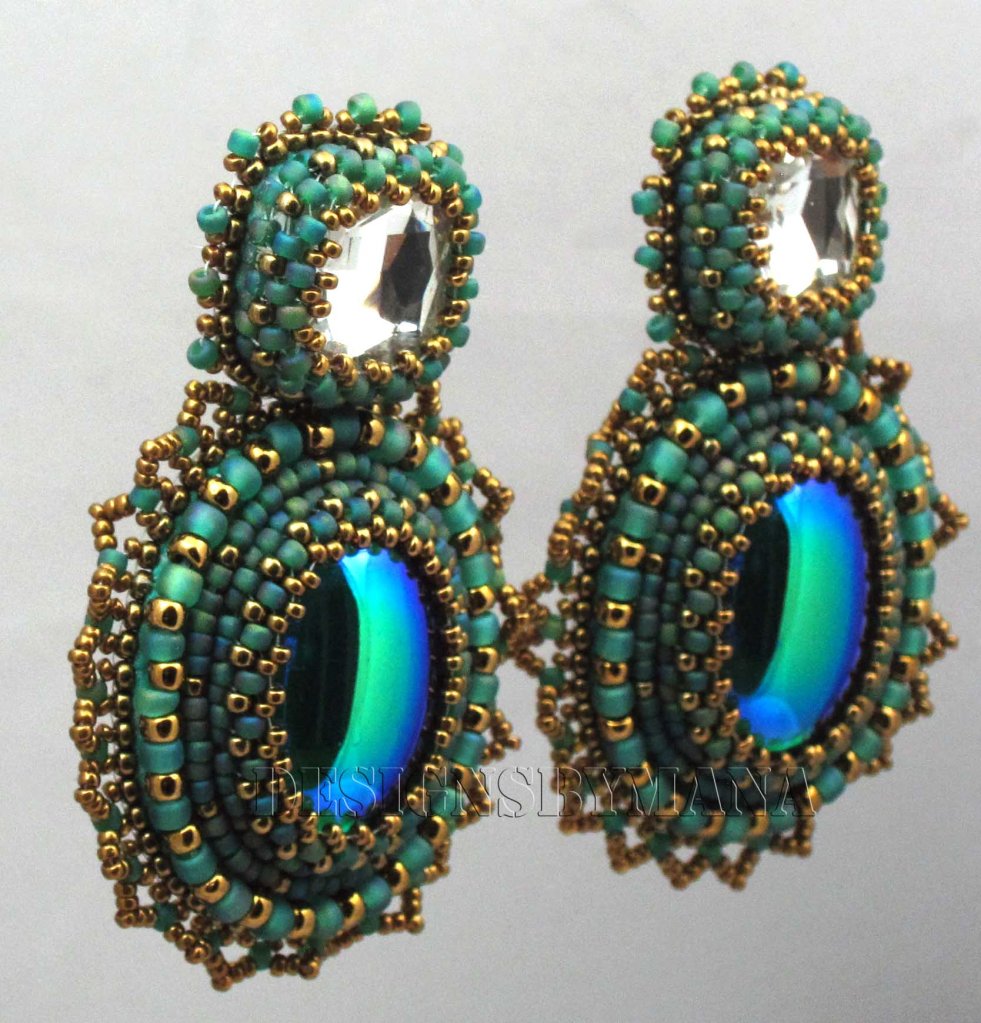
Out of the two cabochons I would have to say that the green one that I have used in this piece is my favorite but I had the hardest time matching any colour bead to it.
The cabochon has a unique teal/turquoise colour and I have quite a few different beads that fall in that category but none of them looked anything special next to the cabochon. None of them added anything to the piece and I thought maybe I was going about this the wrong way.
The cab has a nice shine and effect to it and the beads I was testing around it, all had different shiny effects on them and so maybe that was the problem. Too many different finishes were clashing with each other.  I went with a matte finish bead in the end that was close enough to the main colour of the cab.
I think the matte effect of the bead helps in that they make the main cabochon stand out even more. But I needed to use another type or colour of bead to make the piece more dimensional and interesting and none of the blues and teals were doing that so I decided to see if metal colours would work.
I don’t have an innate way with colour and matching colours is my main headache when it comes to any type of designing whether it is beadwork or if it is fashion design work. So after doing little samples with gold/silver and bronze, I settled with bronze and loved how the piece turned out.
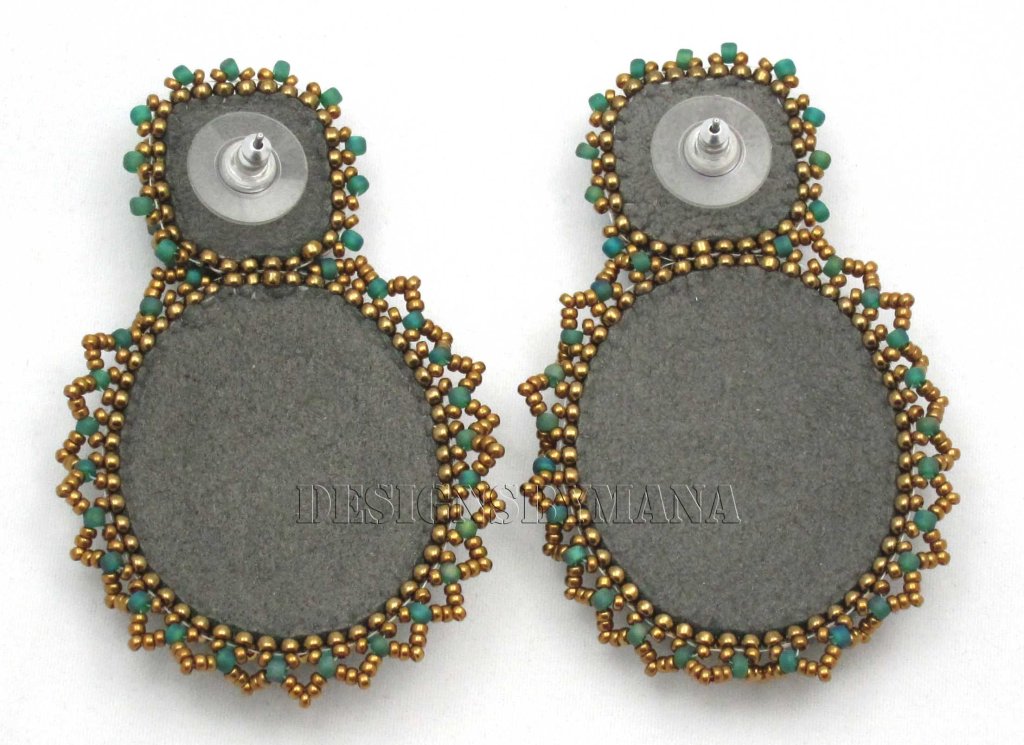
For the edge I did the all too popular picot edge but I really though the piece deserved a little bit more so I decided to experiment with filling out the space between the size 11/0 beads of the picot edge.
I was going for a rounded effect at first. I found out that adding four size 15/0 seed beads between each size 11/0 beads would just lie flat .in the next step I added five which I found with a little but of manipulation would make these pointy shapes and I was really excited about so I scraped the idea of having round loops around the earrings and went with this pointy edge.
I was going to keep these earrings for myself but I decided to list them on Etsy and I was glad and really surprised when they got sold. Good thing is I still have a few more of the main cabs left so I can make more of these if I ever wanted to!:D
            LIST OF MATERIALS USED:

Posted by Mana © BeadFeast. All Rights Reserved
Tuesday, October 23, 2012

Crystal Skull Brooch


A friend of my mom had asked me to make a turquoise necklace and earring set for her and yesterday while I was there showing her the samples of the things I had made for her and she asked me why I liked skulls so much. I have thought about this so much, because I don’t like anything gory, or scary but I keep getting asked why I like things with skulls on them and I really have no answer for it.
 I really don’t know why I like them so much. All I know is that I liked skulls way before I started worshipping anything Alexander McQueen makes with skulls. I find it a little odd that my family and friends prod me this much about my love of skulls saying weird things are but you are so normal why would you like skulls, as if people that like skulls are in someway abnormal! But I have stopped trying to explain why I like things with skulls on them. I think it’s a same as someone liking pastel florals. I don’t like floral patterns in general (unless they are very sharp and modern which is rare but it happens) but then I wouldn’t go around and say “seriously what do you see in florals, florals are frumpy!
But it’s a matter of opinion and taste and we are all entitled to them. But for this piece I had an agenda. I had been thinking about how feasible it was to make a bead embroidered piece while incorporating small cutouts in the process.
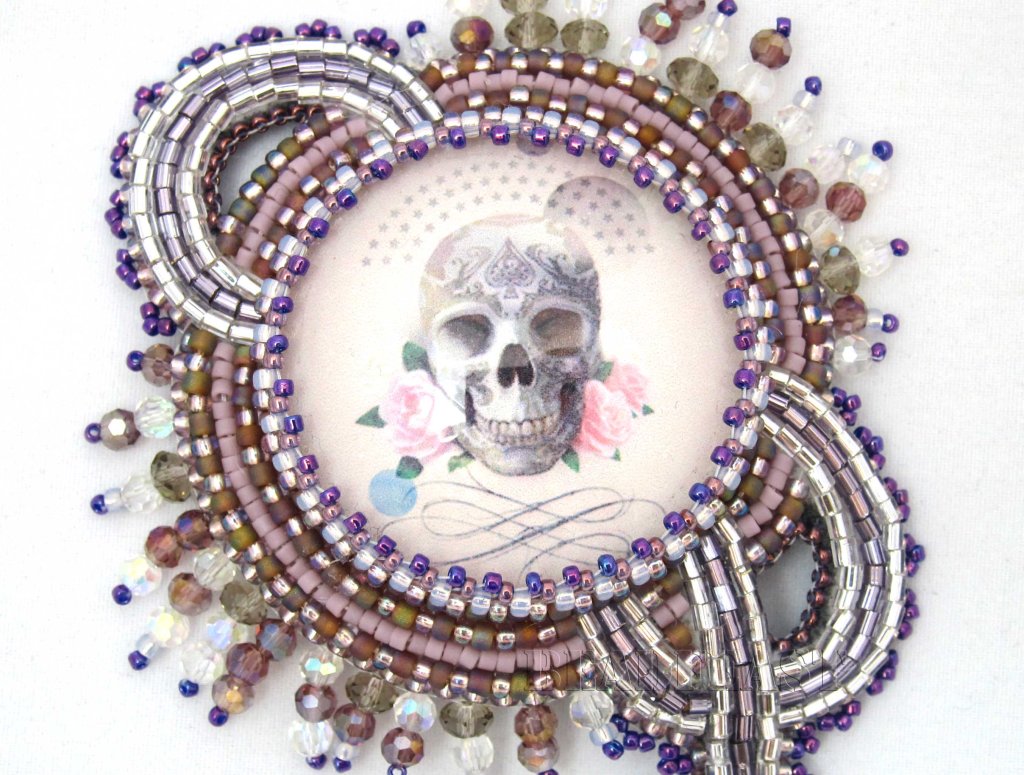
For this piece I went with an image by Tom Bagshaw titled “Lucky 13”. The beading design mimics the flourish that is drawn underneath the skull. I did a couple of sketches to get the placement and the sizing of the curlicue design right so that when the beading was being done it would look continuous.
 
I also had to plan out the size of the cut-outs to keep them to a size big enough where I could go in with scissors and make the cuts and have it make the impact I want as well as for it to be small enough to be cohesive with the piece.
 
As you can see it is doable but I did find it difficult to cut into the piece and be aware not to cut any of the threads. I took my time cleaning the edges and getting as close as I could to the edges when I was making the inside cuts.
Once it was done I drew the outline on my Ultrasuede so I could make the cuts before gluing the suede to my piece which made things a lot easier and only had to do a little it of touch ups to get just right.
To clean up the edges I went around the piece with size 11/0 seed beads but I used size 15/0 for the edges of the cutouts. I did a crazy stacked edging on the top part and if that wasn’t enough I went with a dangly Swarovski crystal on the bottom.
Even though I know skulls are not really something most of you guys are into, I still hope you enjoyed the piece! :D
LIST OF MATERIALS USED:

Posted by Mana © BeadFeast. All Rights Reserved
Saturday, October 20, 2012

Sparkly Turquoise Earrings


Ahhhh what better way to spend a Saturday evening than sitting down and watching My Fair Lady? As I am writing this, poor little Eliza is trying to pronounce words beginning with H and setting fire to things! What joy.
My favorite part of the movie has to be the embassy ball with that amazing crystal necklace! Which brings me to today’s little beaded piece, which is a mixture of turquoise and crystals.
 
The idea for this came from my turquoise bracelet which I had made a long while ago. I was really happy with how the beads and crystals worked together so I decided to make a pair of earrings to go with the piece.
I didn’t have any more of the green crystal pieces I had used on the bracelet so for these earrings I substituted them with a pair of turquoise cabochons and for the bottom part of the earring I used a larger swarovski crystal stud earrings which I cut the backs off in order to use as the focal component.
Hope you guys are having a wonderful weekend and If anyone is interested in these earrings they are available on my Etsy.
LIST OF MATERIALS USED

▪                15mm Round Glass Cabochon – Turquoise
▪                SWAROVSKI CRYSTAL STUDS
▪                SILVER LINED OPAL BLUE/GREEN SEED BEADS SIZE 6/0
▪                TRANSPARENT MEDIUM SEA GREEN AB SEED BEADS SIZE 11/0
▪                TRANSPARENT OLIVE BRONZE LUSTER SEED BEADS SIZE 11/0 SB2518
▪                METALLIC DARK OLIVE GREEN SEED BEADS SIZE 15/0 SB3451
▪                4MM GLASS FACETED BEADS IN PARROT FROM THE BEAD GALLERY
▪                TRANSPARENT GOLD AMETHYST SEED BEADS SIZE 15/0 
▪                10mm SURGICAL STEEL FLAT GLUE ON EARRING POST
▪                LACY’S STIFF STUFF
▪                GREY ULTRASUEDE
▪                FIRELINE THREAD 0.006 IN CLEAR
▪                E-6000


Posted by Mana © BeadFeast. All Rights Reserved

Wednesday, October 17, 2012

Emancipation Brooch


I have been so tired lately and I blame the squirrels!!
So a week or so ago I started hearing these really weird sound echoing all around me which turned out to be some squirrels that have made themselves feel right at home just on my bedroom ceiling and are partying up there all night long, every night. good for them but not good for me!!
My eyes are closing as I am writing this but I decided to write a small post for two reasons: first, I don’t really like to ignore the blog specially now since it’s a brand new blog and it’s a baby and needs more attention and secondly I was told off by my mom for not having updated the blog for 3 days!! Now I don’t know about you but I loathe disappointing my mom more than anyone else!
This is a small brooch I worked on a while ago when I had absolutely no idea what to do. I kept wanting to come up with elaborate, grand designs and I couldn’t get a solid idea going so I went to the other end of the spectrum by going completely simple.
And apparently when I go simple I go really simple. I used an image from Natalie Shau called “ Released Time” and grey and red painting and hence the grey and red beadwork.the painting is breathtaking and I really suggest you visit her website to get a better sense of how beautiful and detailed her work is
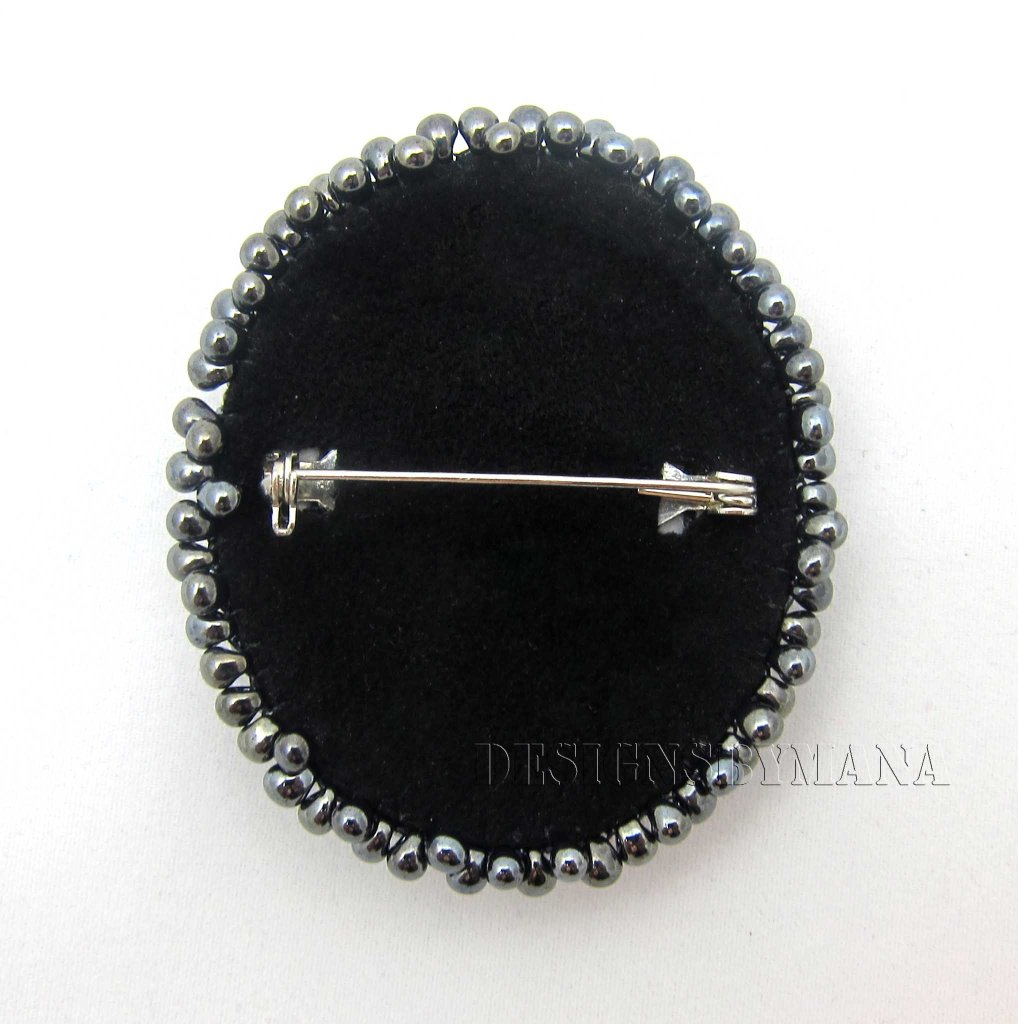
The design as you see is as simple as it gets, the only new thing about this piece is the edge finish in which I used drop beads which give a fun effect and I wonder why I haven’t used this type of finishing on any other piece since! Hope you guys enjoyed this piece even though it’s rather plain and simple!!
LIST OF MATERIALS USED:


Posted by Mana © BeadFeast. All Rights Reserved
Sunday, October 14, 2012

Lady with Dark Hair Pearl Necklace


Can you believe the weekend is over? I spent the whole of Saturday waiting for a package that never arrived and then after doing my weekly shopping I decided to go through my scrapbooking supplies and see what I could get rid off. Suffice it to say that by the time I looked through just half the stuff I had I was a little bit ashamed of myself for spending that much money on things that I don’t use. I love paper but I am no scrapbooker .I think I need to find a way of selling all the dies and punches and stamps I have accumulated in the past year. There is no point in them just sitting in drawers.

But before the weekend is over I want to at least get one post finished in order to achieve one positive thing. So this post is about one of my earlier pieces, which means it was done roughly 4-5 months ago when I was in my resin cabochon-making phase.
 
There are a few setbacks to these resin cabochons. First of all it takes a long time for them to get made and you never know if the finished product is going to come out perfect (without pesky air bubbles or watermarks) until it is all done and over. Another thing that can go wrong with the cabochons is the thickness of it.

For my pieces I used to do a thin layer, put the picture in let it cure for 12 hours and then add a layer of black. But after a couple of uses my molds became a bit lopsided so some of the cabochons were thicker on one side and thinner on the other even though I tried to get it as level as possible. This means that when it comes to bezeling the piece it would look weird. And no matter how much I sanded the piece I could never get it completely even which is why I ultimately switched to clear domes.

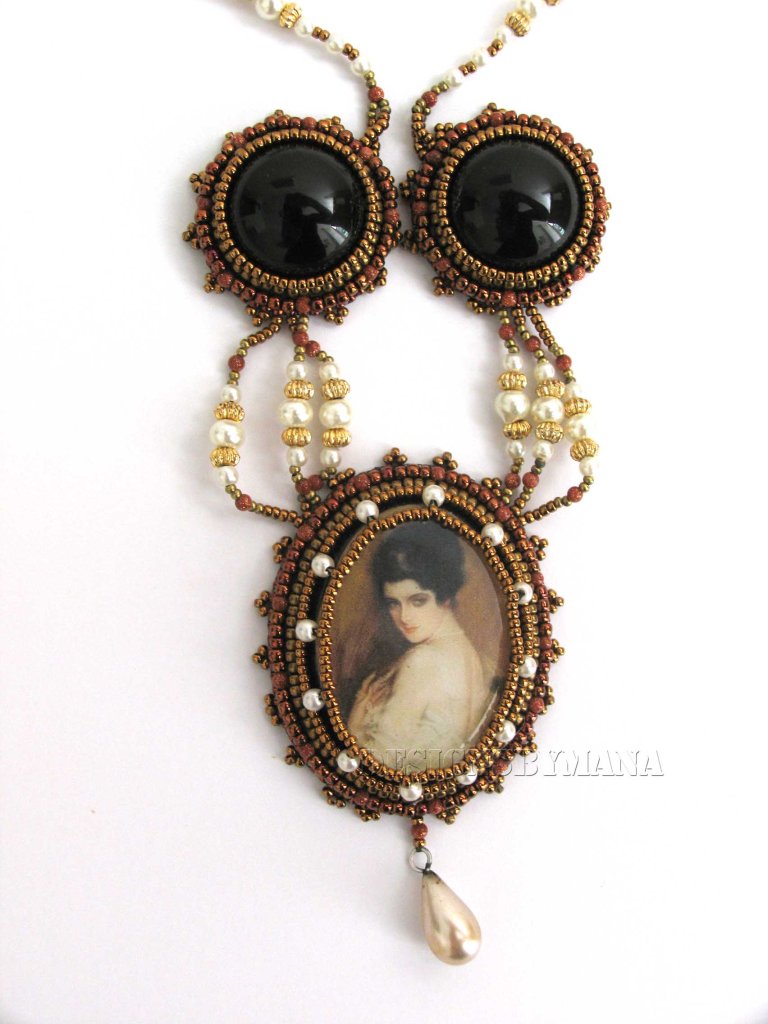
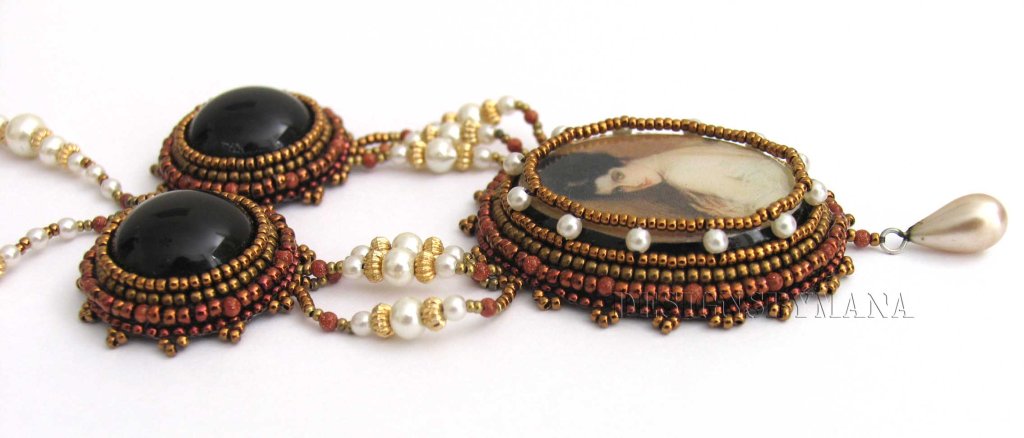
This resin cabochon was made using a painting by Harrison Fisher titled “lady with dark hair”. The cab that I had made was too thick so I had to come up with a way of covering the sides and at this point I was only doing stacked bezeling and hadn’t learnt the how to do peyote stitch bezel .so after the initial two stacked rows I decided to add the one thing I go to when I can’t find a bead that works: pearls.

I went through the size 15/0 beads and came out ever 8 beads to add a 2mm pearl stacked with a size 15/seed bead. Once I had gone all around the piece I only had to go through one of the size 15/0 beads on top of a pearl and start adding size 15/0 beads to close the gap between the beads and form a bezel around the cabochon.
 
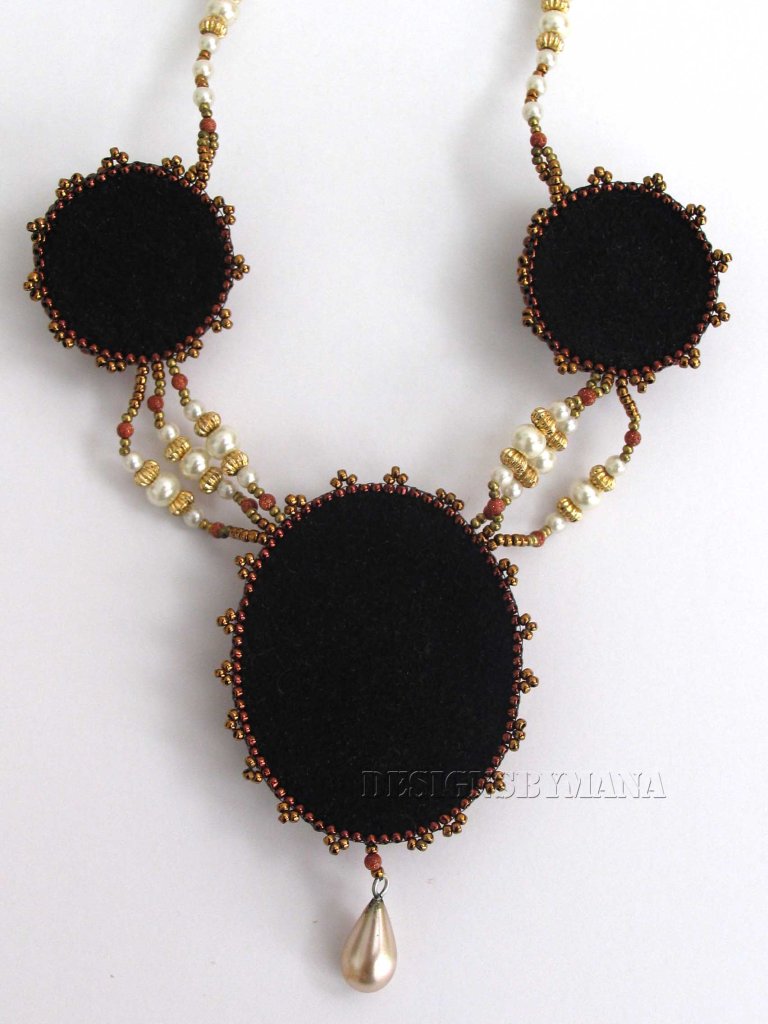
After I was done with the main piece I made two other smaller pieces to match the main piece and I just had to connect everything together. I made a simple chain with the beads and pearls that I had used in the main pieces and attached a spring clasp. Unfortunately I didn’t know how to attach clasps back then and you can see that I have gone around the loop of the clasp with thread a few times to secure it on and I don’t like that I can see the thread .so next time I go back home to visit my parents I have take this necklace from my mom and fix the clasp issues.

LIST OF MATERIALS USED:

Posted by Mana © BeadFeast. All Rights Reserved

Thursday, October 11, 2012

Amethyst Purple and Crystal Earring


I don’t know why but lately I have been really into making earrings. I think it’s probably because they are quicker to make and I am less afraid to use colour in smaller pieces than I in bigger pieces. To be honest I am not sure. I was never much of an earring wearer to begin with. I am more of a bracelet and ring person but I am not sure if a bead-embroidered ring would work.
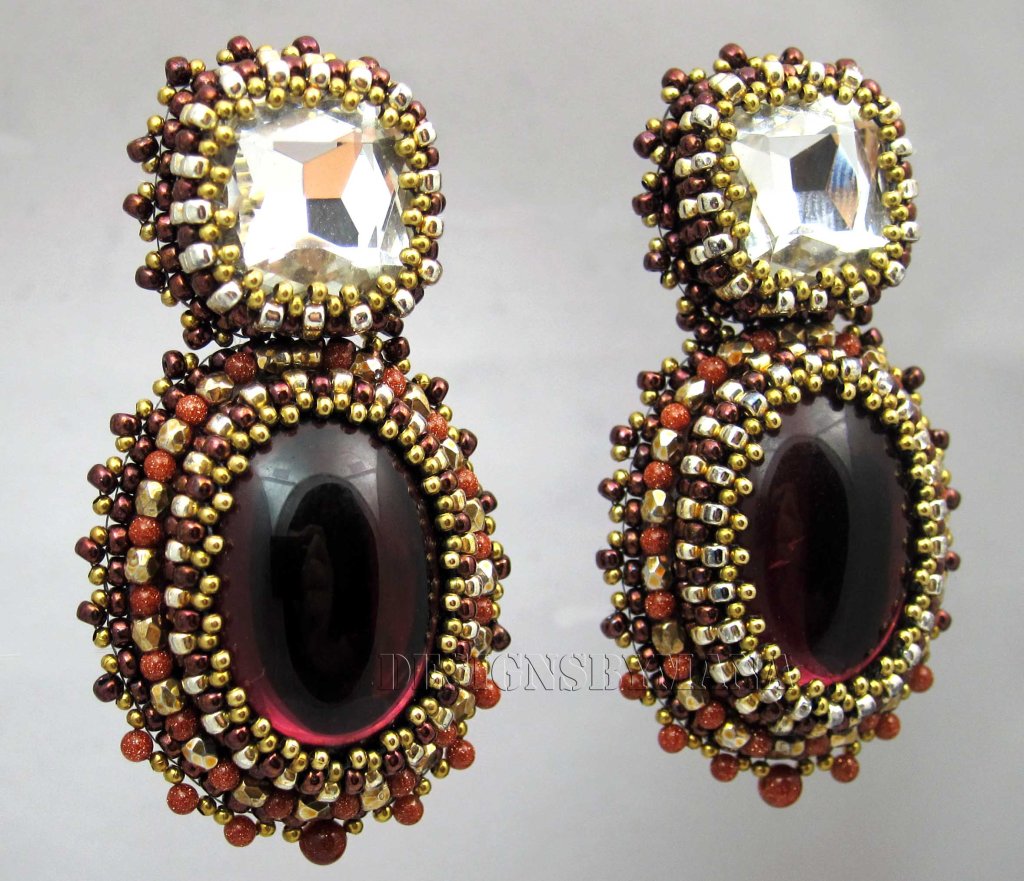
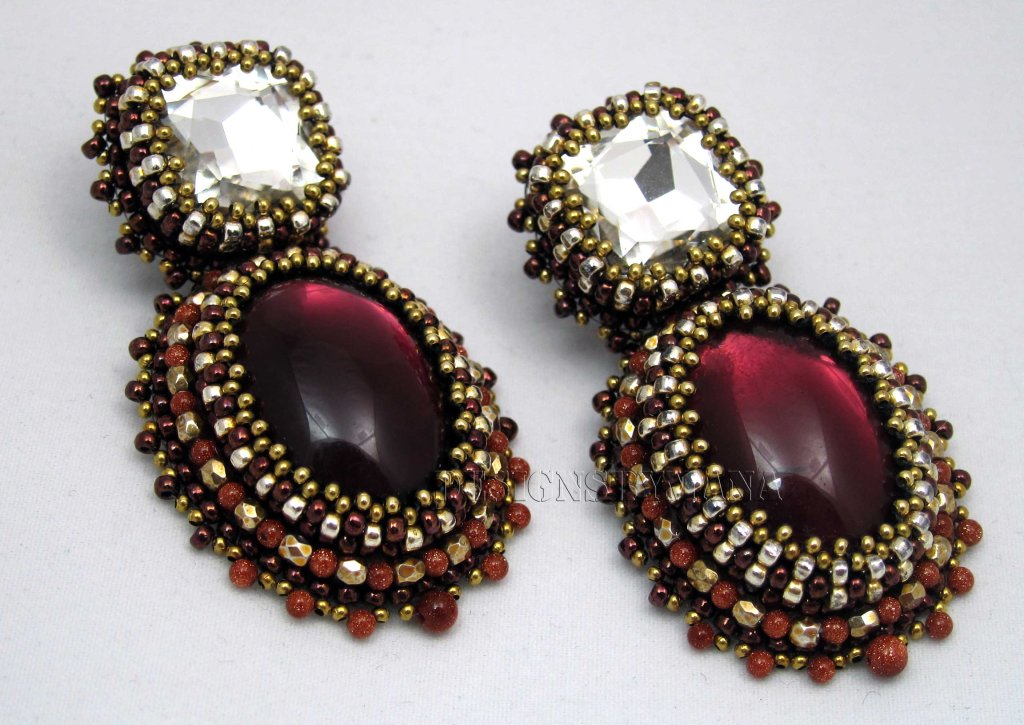
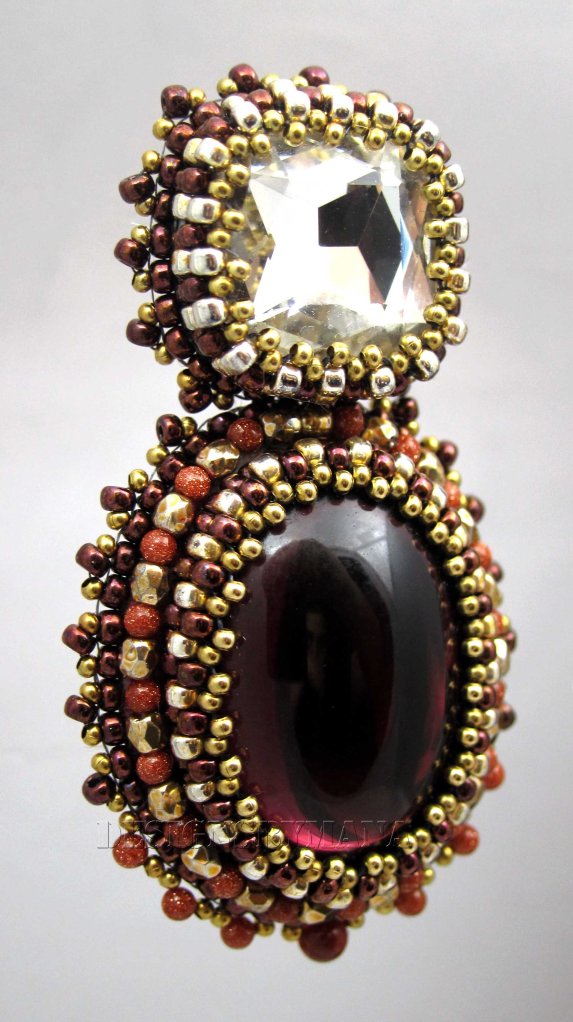
When I was putting together pieces that I could use in earrings I came across these wonderful faceted square Swarovski crystals that my mom had sent me. The good thing about them was that they didn’t have any holes for sewing through in them, bad thing about them was that they had a faceted back and I was bit iffy about using them.
So the challenge for this piece was gluing the faceted piece to the backing. I had read in the dimensional embroidery book that the way to use these types of stones was to use some sort of air-dry clay under them to make some sort of a setting. I was a little apprehensive to be honest about how to actually do it but after doing more research and finding no other method I decided to just give it a try.
The book says to use air-dry clay and the only type that I found on the day that I went to Michaels was the Martha Stewart’s crafter clay, which is very puffy and kind of reminds me of marshmallows. I made small balls and put the stone on top of the clay ball and pushed it down onto a flat surface to make the setting that the gem would sit in and trimmed the excess clay. Once the clay was dry I checked to see if it was actually stuck to the gem and I found that I could easily peel it back. the thing is that once the bezel was done , the gem would have been completely encased in the beads and would not have fallen out but just to be on the safe side I decided to  glue the stone to the setting and then sanded them a little so that the setting would be as thin as possible and then glued it on to my backing.
Once that whole section was done then it was off to doing the bezel work and the beadwork. For these earrings I went with a gold and bronze palette to compliment the vintage purple cabochons.
The thing with beaded earring as I found out is that they are very lightweight. I usually don’t wear earrings because after a while my ears start throbbing but I have been really comfortable with the beaded earrings that I have made for myself. I think it is probably because there is no metal setting involved in making the earrings, which makes the pieces very light and hence comfortable to wear.
 
LIST OF MATERIALS USED:


Posted by Mana © BeadFeast. All Rights Reserved
Monday, October 8, 2012

Sailor Girl


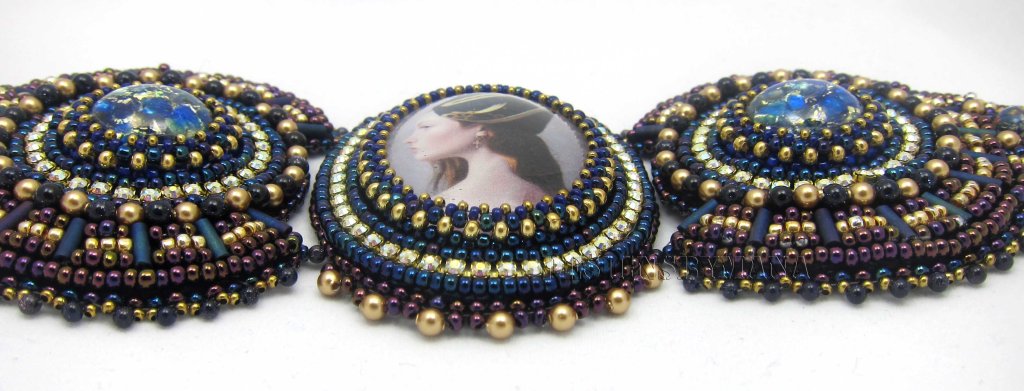
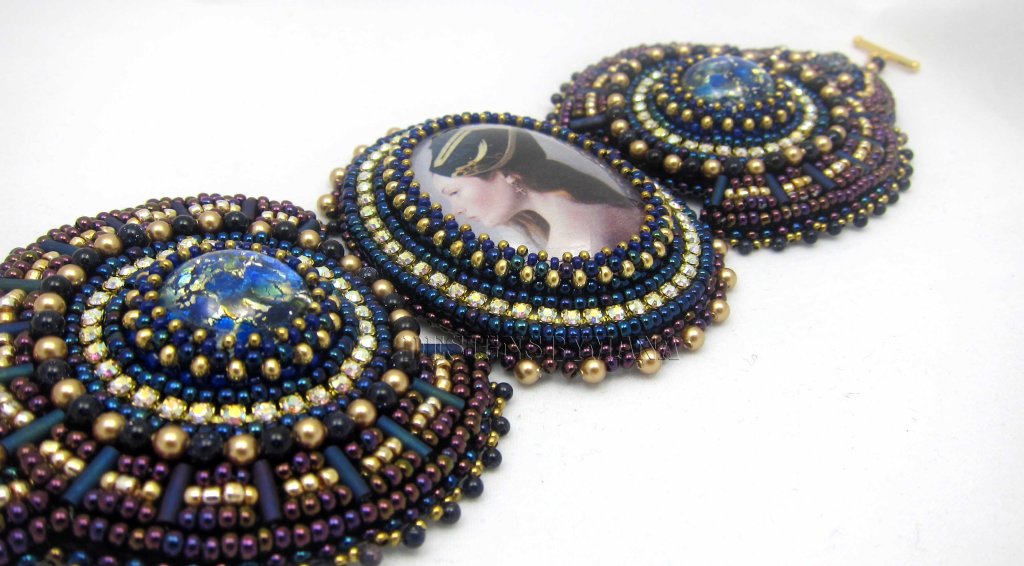
I would like to start off by saying that this piece turned out to a bane of my beading existence. I had wanted to do something with this painting from Mary Jane Ansell for a while and I thought it would work perfectly with the swarovski crystal chains that I had ordered. This piece is from her “The beauty of the Hours” series and is titled “Girl in a cocked hat”
I glued the piece on the backing and did the initial bezel. I decided to do a row around the bezel with the navy blue beads I had used in the bezel to make the crystal chain pop a little bit more. And then did another row with the same beads after I had sewed on the crystal chain. So far so good.
I started this piece right after I had done my Maleficent bracelet so I was pumped. That piece had come together so nicely that I wanted to replicate that experience. That’s when I decided to turn this piece into a bracelet.
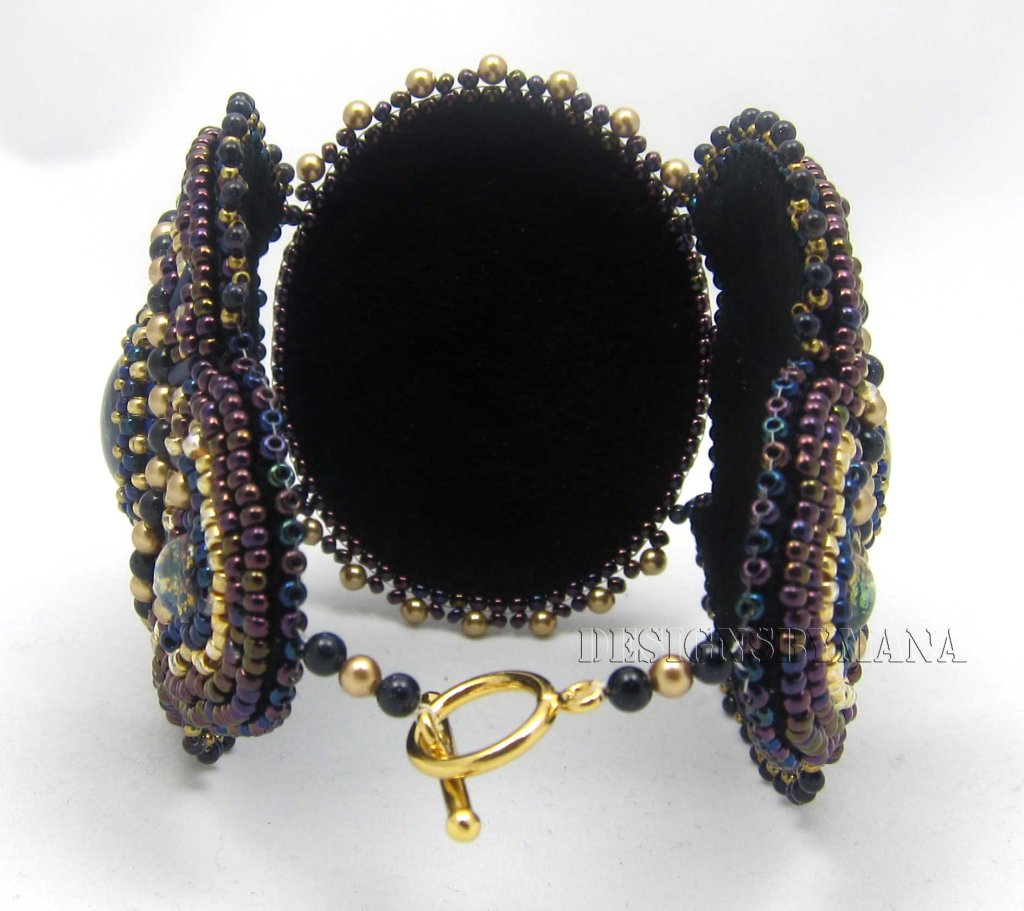
Since I had planned this piece as a brooch I had glued it to a small piece of backing which meant that the bracelet would have to be made of separate pieces. But that was ok. I drew out the shape I wanted the sides to look like and went looking for stones, cabochons and other beads to use in the piece. And I had nothing. Well I mean I had stuff but nothing that would go with this piece.
So I went online in search of blue stones. I found some blue opal stones on the website where I had purchased the crystal chains so I thought they would be a good a choice. While I was at it I went on my favorite website for buying seed beads to get some that might help the process along.
So at this point I couldn’t really go any further with the piece. I had to wait until I had all my pieces so I could start up again. Leaving a piece half finished is never a good idea. I lose my train of thought and my groove and it’s always a little hard to get back into that exact same frame of mind to finish up a piece. But I had no choice, I moved onto doing other pieces.
A week or so passed and I got my packages but I really wasn’t feeling it so I didn’t go back to the piece. But the fact that it was unfinished kept nagging me so I gave in and decided to just finish the piece and be done with it.
I glued on the blue opal stones I had purchased for this piece and started doing the same bezel as I had done around main focal image. It took me a couple of tries to get an even number around the piece in order to get the bezel done but I finally got there. I followed the same pattern as the main image and added the pearl and goldstone.
This is as far as I had planned but when I put the pieces next to each other it was so obvious that the piece would not fit around my wrist. So I had to add more.
Initially I thought I’d do a row of bugle beads all around the piece. I had seen it done and I though how hard can it be, the answer was very hard. I just could not get the beads to sit right, there were unsightly gaps and they just look weird . So I thought why not just use seed beads. But on second inspection I found out that I had run out of the navy blue seed beads I had used in the piece.
Argghhhhhhhhhhhh!! This is the point at which I started thinking this piece just does not want to get made!
The right thing would have been to order the blue beads but I was just really frustrated with the piece at this point and I didn’t want to have to wait another week or so for beads. I decided to use what I had instead.
Once the few rows were added I was thinking surely it will fit at this point. But alas it was not to be. So I started adding other elements. I mean at this point I just had to laugh and go with it. Ok maybe had I planned things better or if this pattern was what I had in mind I would have been ok with it but since I had to keep adding and adding things just to make this bracelet reach the 7.5 inches I needed for it to fit around my wrist, everything felt like an afterthought.
I cut the pieces out finished the edges and connected them together. And wouldn’t you know it, the damn thing still didn’t fit!!
I mean the process I went to through to finish this piece was so ridiculous that it makes me laugh. I have done enough beading now, not to have to repeat these basic stuff over and over again to get it right but with this piece  I had to rework every element over and over just to get it somewhat right!
 
All in all I am at peace with this bracelet, its not one of my favorites but I don’t hate it now as much as I did when I was making it. But I am sure glad it’s done

 
LIST OF MATERIALS USED:

Posted by Mana © BeadFeast. All Rights Reserved

Sunday, October 7, 2012

Blue Goldstone Earrings


True to form I managed to waste my whole Saturday, I had so many plans. I think it’s because I heard back from one of the jobs I had interviewed for and I was told that I was overqualified which is the most bizarre explanation for not giving someone a job ever in my opinion! After reading the email in a half asleep state this morning I decided to take a portion of the day and wallow. I mean no one should start their Saturday with this type of email. So I moped about for a while going through the 7 stages of grief but apparently It took more than a few hours to get over the news because I suddenly looked at the clock and its now nearly 1:30 in the morning. Nooooo!!
 I might have wasted my whole day but I am not going to waste my night so I have decided to write up a quick post.
A while back I shared pictures of a piece I had made which I had yet to finish. You can see the original post here.
I finally decided it was time to do something with the piece and even though I had originally made the pieces for gloves, in the end I decided it would be best to make them into earrings.
I used crafters ultimate glue to glue the piece to Ultrasuede making sure to glue a couple of millimeters away from the edge. This is so that the needle could go through the backing and the Ultrasuede easier but if you decide to do this and get glue to the edge don’t worry the needle still goes through, it might need a little bit more coaxing at times but it will go through,
I was thinking of doing a clean edge around the piece but since I had used bigger beads in my last row of beading I thought that doing a clean edge might look a little bit weird so I opted to do a sunshine edge and do a basic picot edge to finish the piece off.
LIST OF MATERIALS USED:

Posted by Mana © BeadFeast. All Rights Reserved

Wednesday, October 3, 2012

Gold Sparkly Earrings


One of my proudest moments in the bead embroidery journey was when I finished my first bracelet. I just kept thinking that making a whole beaded bracelet was going to be such a huge ordeal and what if I don’t like the piece and what if I can’t do it and all that. It is funny that I am always one of those people who tells everyone to try something and if it doesn’t work out they will know for sure but I seem to not want to take my own advice. I mean giving advice is so much easier than taking it , right!
But I am glad I started making bracelets and its ironic that the reason that I like making bracelets now is the exact reason why I avoided them in the first place. Now I like having to spend time on a piece for more than a day or so, because the process is calming and it gives me time to think and plan new pieces in my head. Also because there is more space to fill out with beads I get to experiment more with different techniques and shapes, which I normally don’t do on smaller pieces. And sometimes when I am experimenting with the patterns on a bracelet I get inspiration for other pieces.
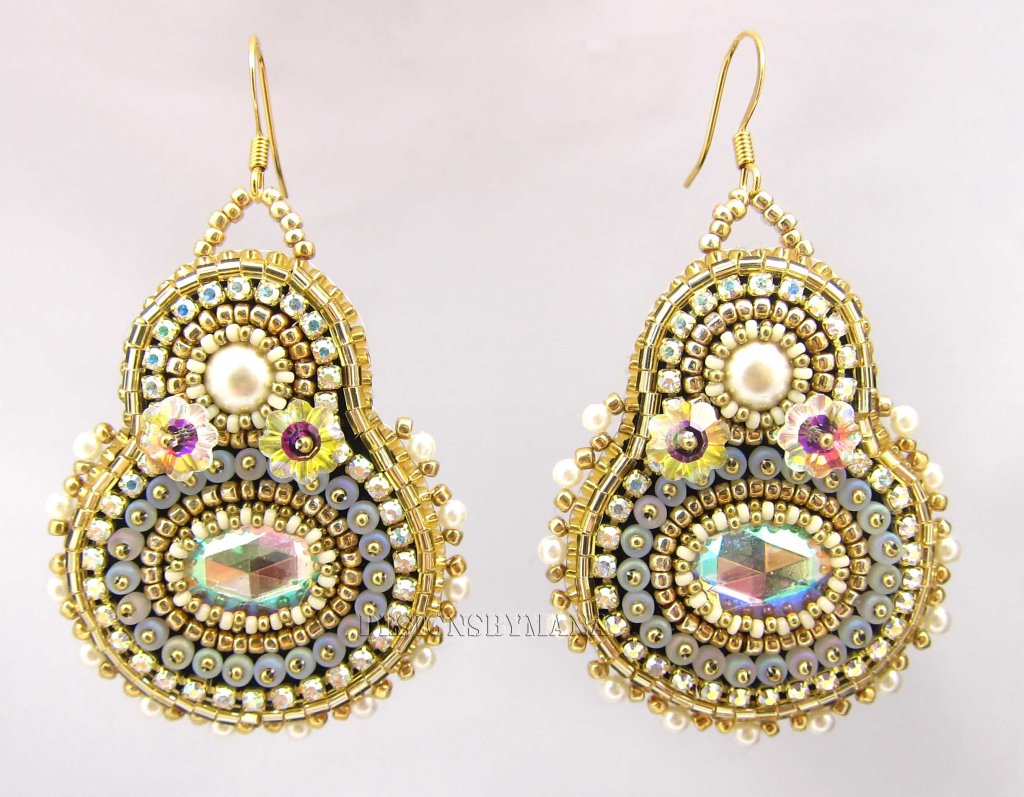
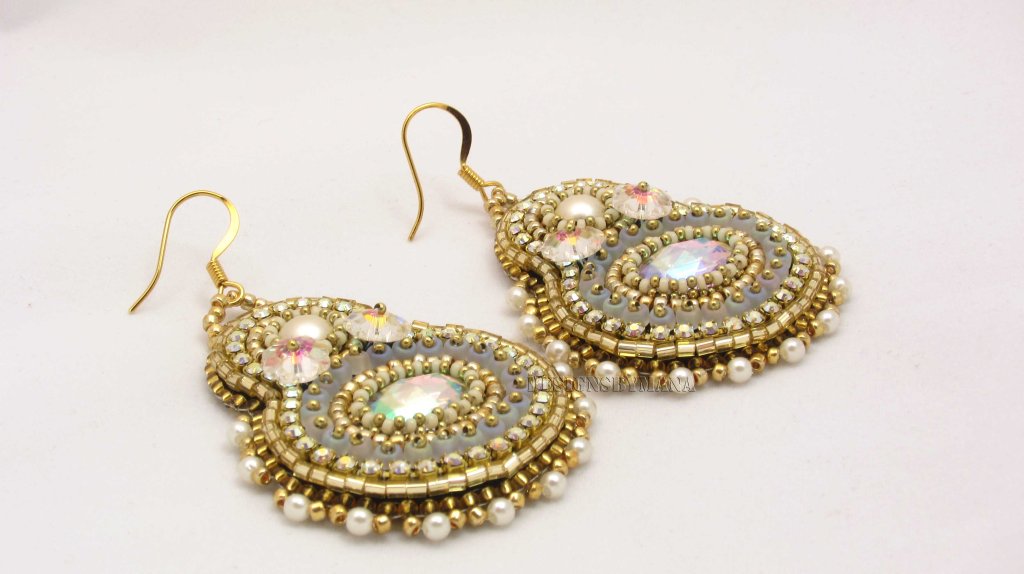
That is exactly what happened when I was done making the Golden Cicada bracelet. I loved the sides of that bracelet and when I was looking at it I thought why don’t I just turn that shape into earrings.
Good thing was that I still had enough of the material to make a pair of earrings and because I had already made that pattern once the pieces came together all too quickly.
For me these type of projects are the stuff I like to do when I am not inspired to make anything new but I still don’t want to sit around and twiddle my thumb. The pattern is already there I know what beads I am going to use so I don’t have to sit around for hours trying to decide which beads would work well together which is my main obstacle when planning my pieces
But having worked with this pattern twice now and liking how it turns out I know now that if I were to change the colours and use different beads it would still give me something unique. That’s the beauty of a good pattern and a pattern you like to work with!

LIST OF MATERIALS USED:

Posted by Mana © BeadFeast. All Rights Reserved