 I have been so busy this week work and I have to admit I love it, I love that feeling of having some sort of purpose but it seems like I can only do one thing at a time and I have really been neglecting my home life and my social life. Also I am so tired by the time I get home that I have been going to bed at around ten. I have always been a night owl, going to bed at let’s say 5 am is nothing new to me, I find it easier to work during the night, less distractions and all that but now I cannot wait to crawl into bed!
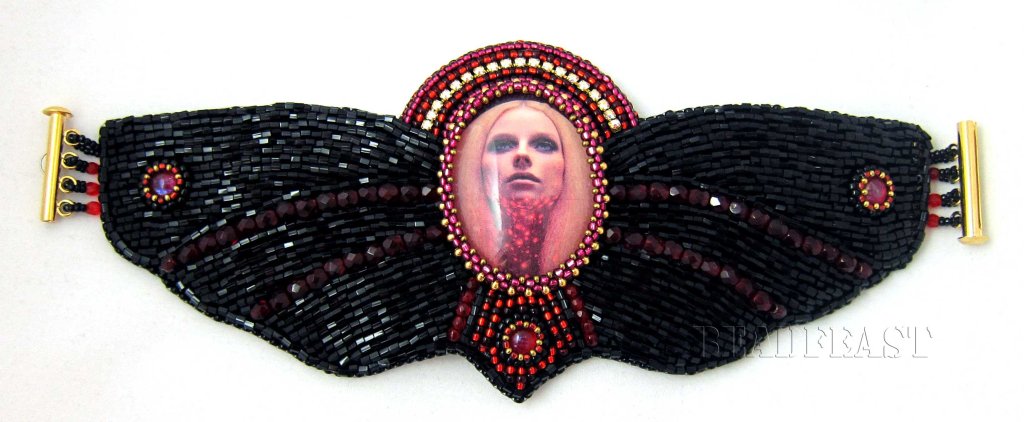
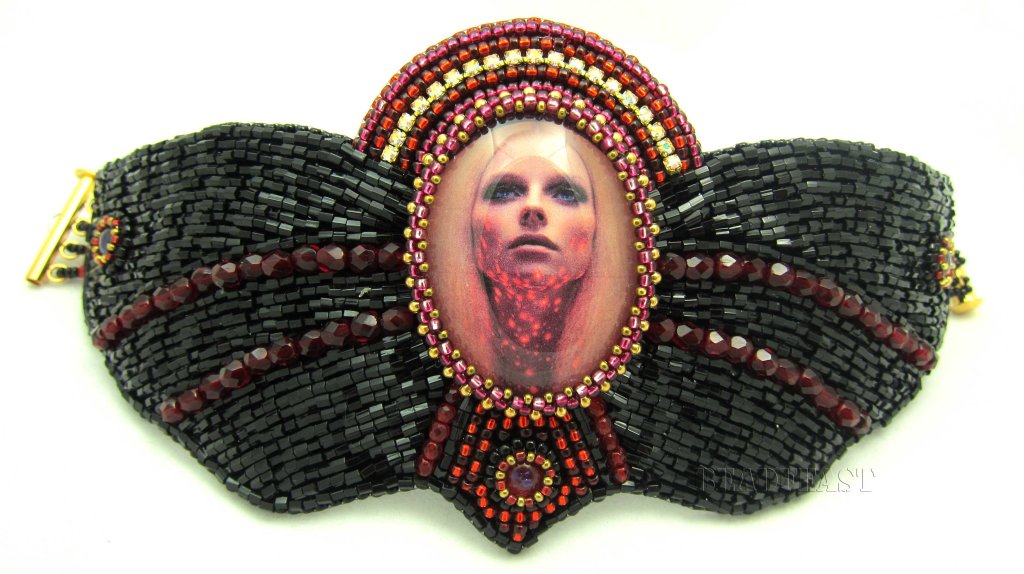
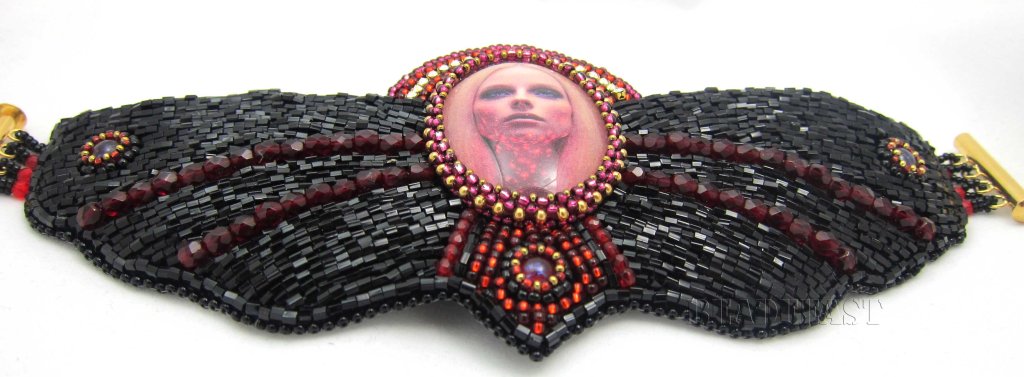
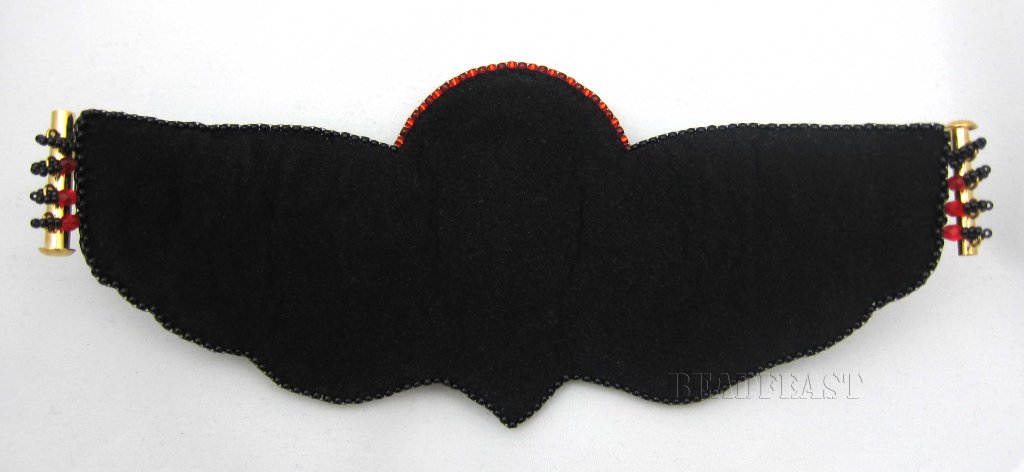
So lately in my beadwork I have been more and more into tightening my colour palette and not using every single bead I possess in every piece. I know I tend to get a little bit overboard with my bead usage. So I set out to only use three colours with this bracelet: red, gold and black. Also for backing I used black Ultrasuede tacked onto Lacy’s stiff stuff.
I really liked the way that the hex cut beads looked in my last bracelet and since I have a huge package of those I decided to use those beads as the main body of my piece.
As always I started with my bezel and then moved on to the wing portion, which I had already mapped out on my backing. In order to get the piece as symmetrical as possible I did one side first and then moved on to the other so I could make everything match. So the number of beaded lined on each side is the same.
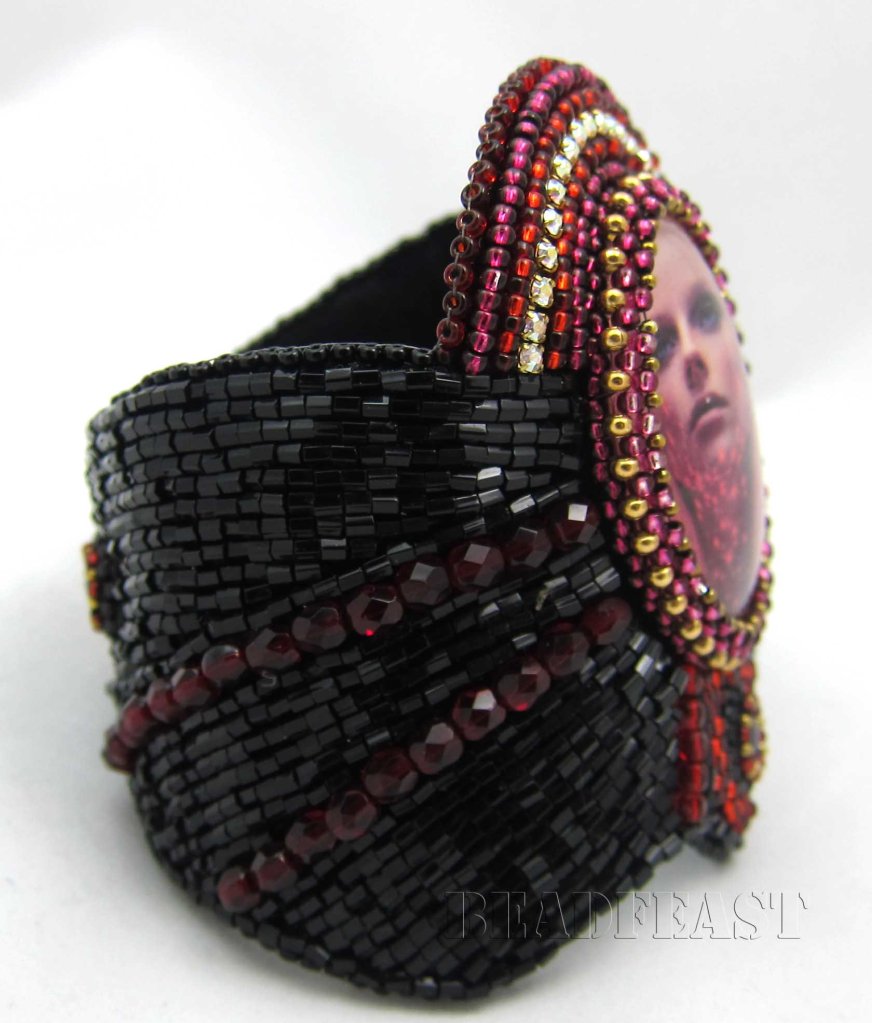
I was really happy with how things were looking after the first couple of black rows but I wondered if the piece would look very flat by using only black. So I decided to incorporate different types of stones in the same colour palette. Luckily I had just enough red fire polished beads to finish this bracelet off .so I decided to use them to separate the black sections.
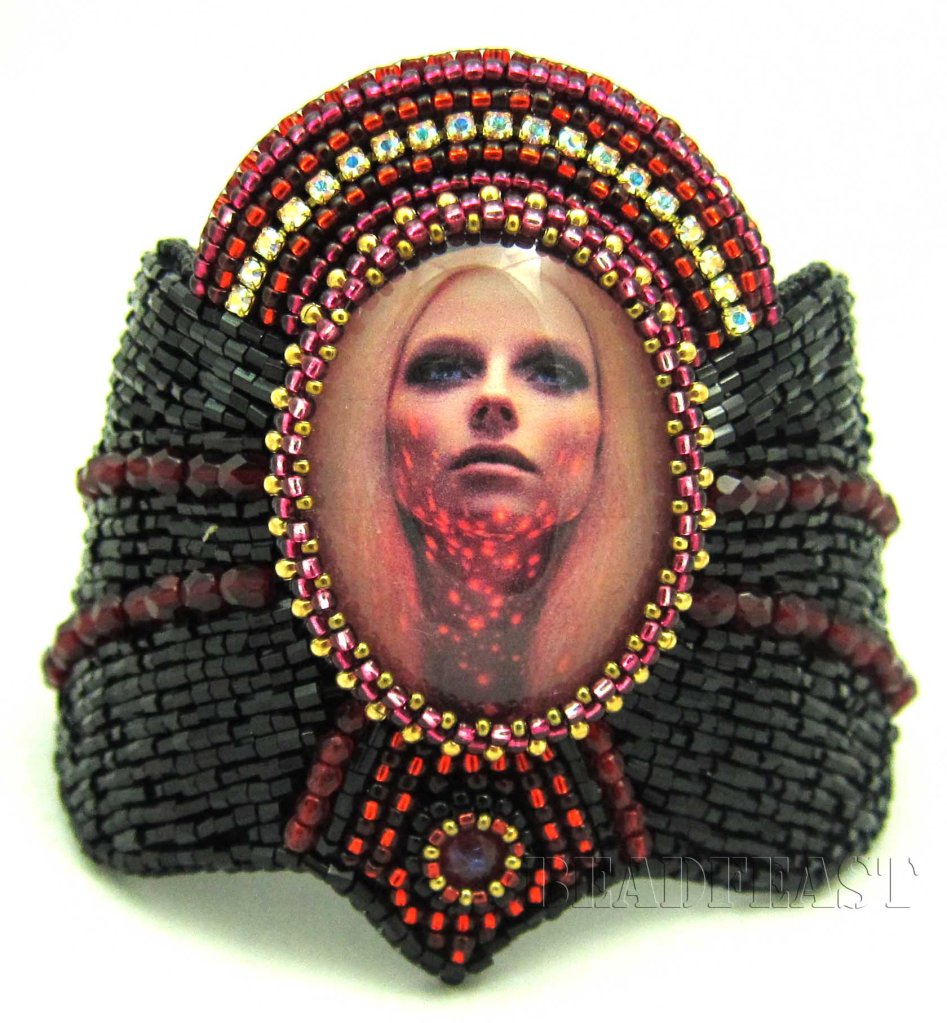
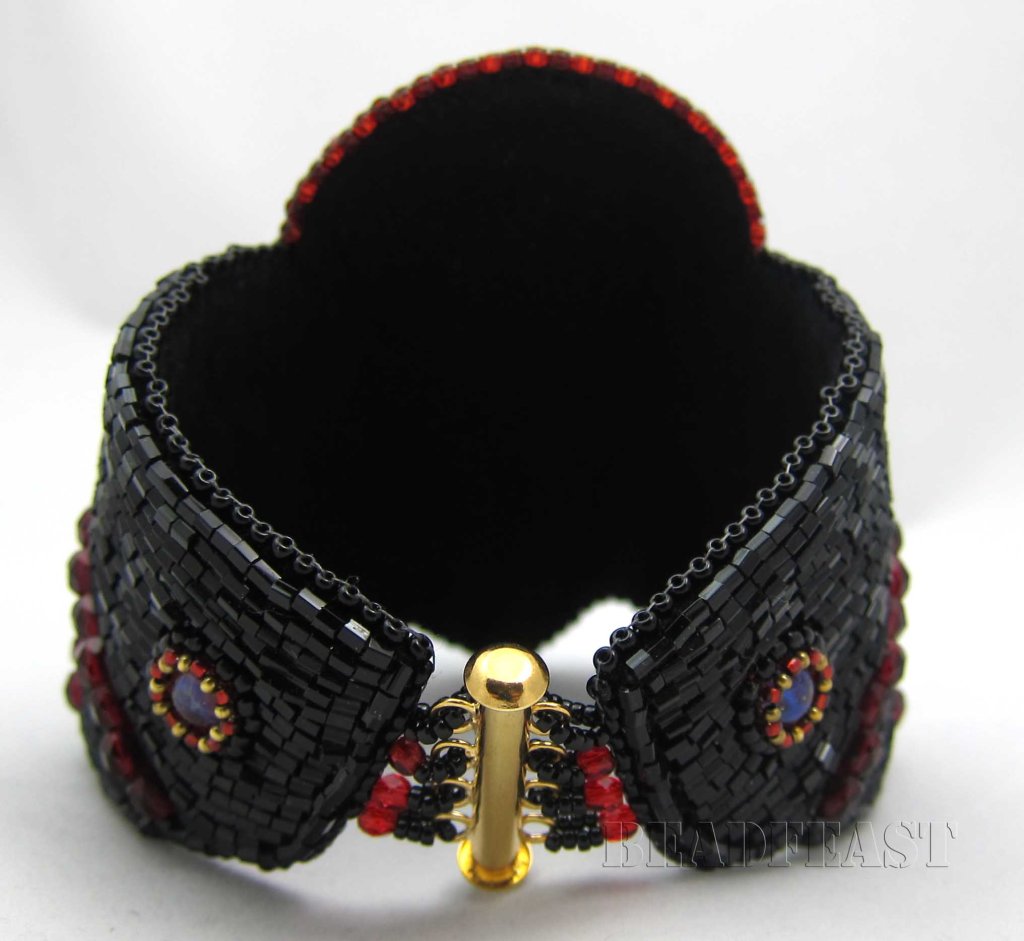
I also didn’t want to use any other cabs but then I decided I needed to. The red cabs that I used are Mexican opals in dragon breath. I loved the colours of these. They are a nice red but in a certain light they look somewhat blue but when I glued them on my backing, which was black, they completely lost their appeal. But since I didn’t have any other cab that would have worked I decided to draw around the cab and cut the Ultrasuede up so that I could glue these cabs on to the Lacy’s stiff stuff. Once the cabs were glued onto a white background they got their blue tint back. I am just glad that the whole thing worked otherwise I would have had to undo all the work and start all over again.
I kind of only noticed the red lights on the model’s face when I was done with the piece, it kind of looked like the red cab underneath it was the cause of all the red lights on her face and I really liked that.
Once the body was done I decided to not add any decorative edge as I thought the piece looked fine as it was and the good thing with a decorative edge is that it can be added whenever, so if at a later time I think it needs it I can go back and do that without any problems. To finish off I added a gold clasp to the bracelet and it was all done.
- List of Materials Used:
- 5mm MEXICAN OPALS IN DRAGON BREATH
- 4mm RUBY FIRE POLISHED GLASS BEADS
- 2.5mm RUBY FIRE POLISHED GLASS BEADS
- BLACK HEX 2-CUT BEADS
- TRANSPARENT DARK RED SEED BEADS SIZE 11/0
- SILVER LINED MAHOGANY SEED BEADS SIZE 11/0
- GOLD METAL SEED BEADS SIZE 11/0
- OPAQUE BLACK SEED BEADS SIZE 11/0
- SILVER LINED MATTE DARK RUBY SEED BEADS SIZE 11/0
- SILVER LINED DARK PINK SEED BEADS SIZE 11/0
- GOLD COLOURED METAL SEED BEADS SIZE 15/0
- SILVER LINED GARNET SEED BEADS SIZE 15/0
- FIRELINE THREAD 0.006” IN SMOKE GREY
- LACY’S STIFF STUFF
- BLACK ULTRASUEDE
- E-6000 GLUE
- CRAFTER’S PICK THE ULTIMATE GLUE
Posted by Mana © BeadFeast. All Rights Reserved

Again, it come to praise! The bracelet is gorgeous and the wings thing is something i was thinking about, but in a necklace.
ReplyDeleteI really really really love your center pieces! Do you make them yourself? Do you buy them somewhere? I'm having a though time finding something that's even remotely interesting around this part of the beading world...
Congratulations once more. I love your style!
you are so sweet , thank you so much. I have the same problem with finding focal pieces, i find stone cabochons that i like a little bit on the expensive side so what i do is i make these myself which gives me the chance to use any image that i like as for my focal image. what i do is i find images online or in magazines and i resize them in photoshop or you can do it in any photo editing software . i print them up and then i use a clear drying craft glue , what i use is called glossy accents with clear glass domes to make my cabochons. once you have the glue spread thinly on your glass dome press it down onto your images and press hard to get rid of bubbles but try and not move it so much once the dome is on the images cause sometimes i get these weird lines when i moved them too much which makes it useless so i have had to scrub the image off in order to use the dome again. but i have links to where i get my domes from at the end of my blog post if you are interested , i find that they have the best prices when it comes to clear domes.hope this info helps!!!
ReplyDeletei have been thinking of doing something similar like this in necklace form too, i think it would look really amazing , good luck with your piece , and i look forward to seeing it on your blog !also i am sorry it took me a while to answer you back for some reason i have not been getting email notifications !!:)
Thanks for the info! It's really useful, I just might try it out soon...
ReplyDeleteI'm looking forward to your next post/piece! Happy beading and such... :)
you are welcome , i am glad you found the info helpful, if you have any other questions let me know!!happy beading to you as well!!:)
Delete