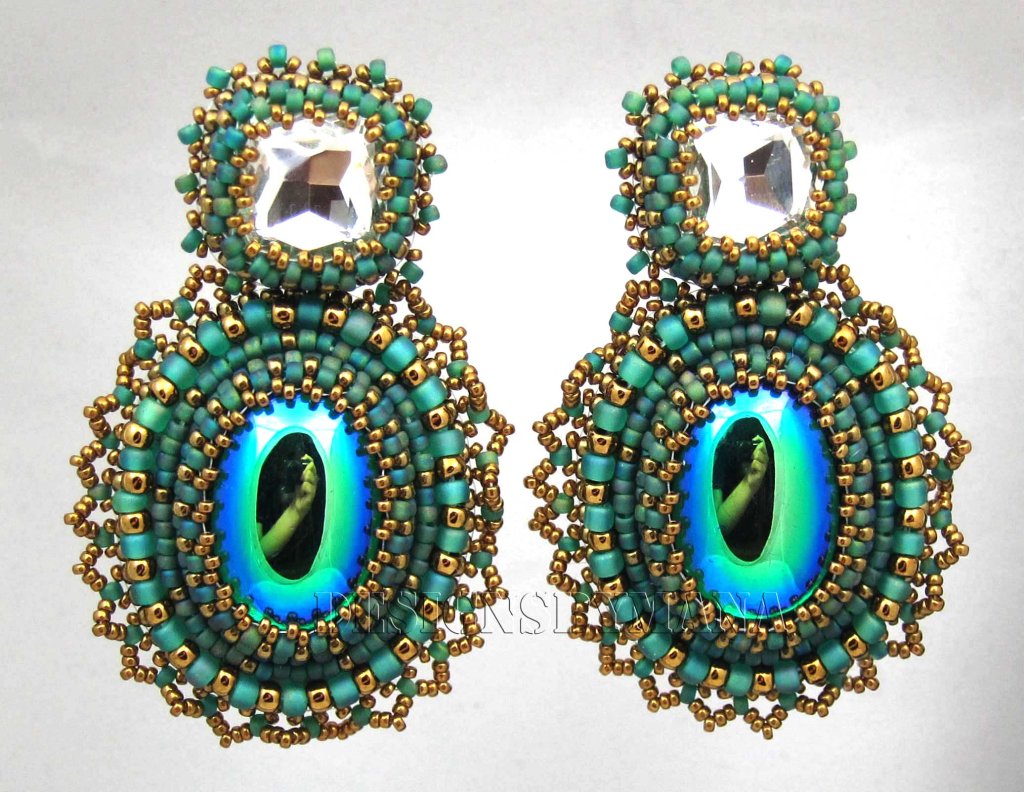
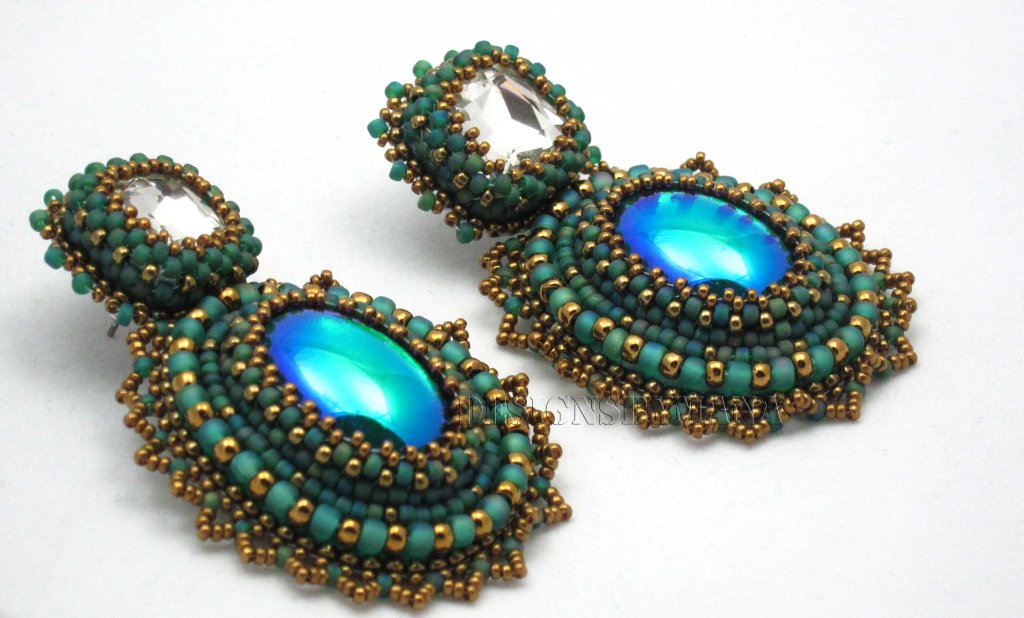
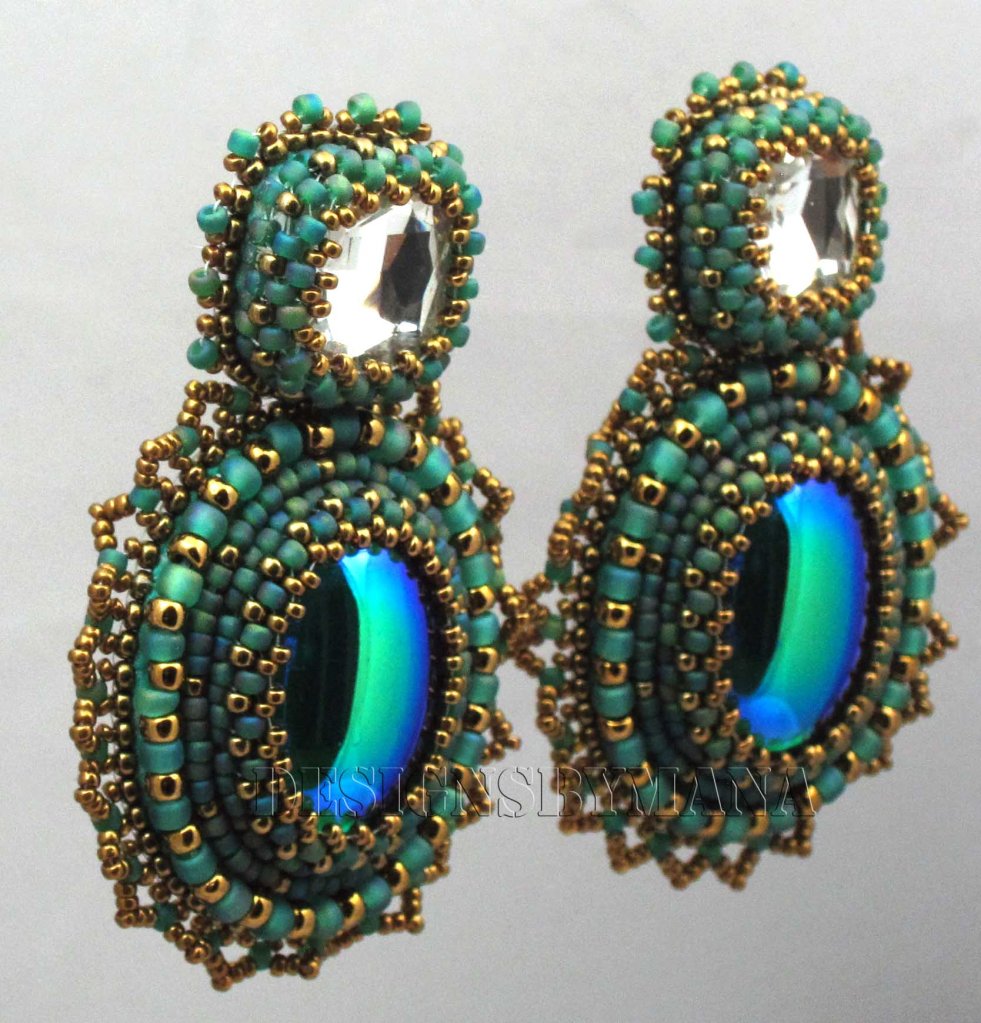
When I first decided to do bead embroidery it was all because of a video on Youtube by Beadaholique. I didn’t know anything about bead embroidery even though I had done a lot of just random beading at my fashion jobs .i really didn’t have a clue where to start so I went ahead and bought the stuff that was mentioned in their video plus some vintage German cabochons that they had on their website. I loved the German cabs I got from there specially the green and purple ones I had purchased. Since they only had a limited number of cabs left and these were vintage stones I decided to go ahead and buy out the rest of the green and purple cabs that they had in stock. i am so glad I did because they haven’t restocked these cabs again and I haven’t been able to find them anywhere even though I have been looking constantly.
Out of the two cabochons I would have to say that the green one that I have used in this piece is my favorite but I had the hardest time matching any colour bead to it.
The cabochon has a unique teal/turquoise colour and I have quite a few different beads that fall in that category but none of them looked anything special next to the cabochon. None of them added anything to the piece and I thought maybe I was going about this the wrong way.
The cab has a nice shine and effect to it and the beads I was testing around it, all had different shiny effects on them and so maybe that was the problem. Too many different finishes were clashing with each other. I went with a matte finish bead in the end that was close enough to the main colour of the cab.
I think the matte effect of the bead helps in that they make the main cabochon stand out even more. But I needed to use another type or colour of bead to make the piece more dimensional and interesting and none of the blues and teals were doing that so I decided to see if metal colours would work.
I don’t have an innate way with colour and matching colours is my main headache when it comes to any type of designing whether it is beadwork or if it is fashion design work. So after doing little samples with gold/silver and bronze, I settled with bronze and loved how the piece turned out.
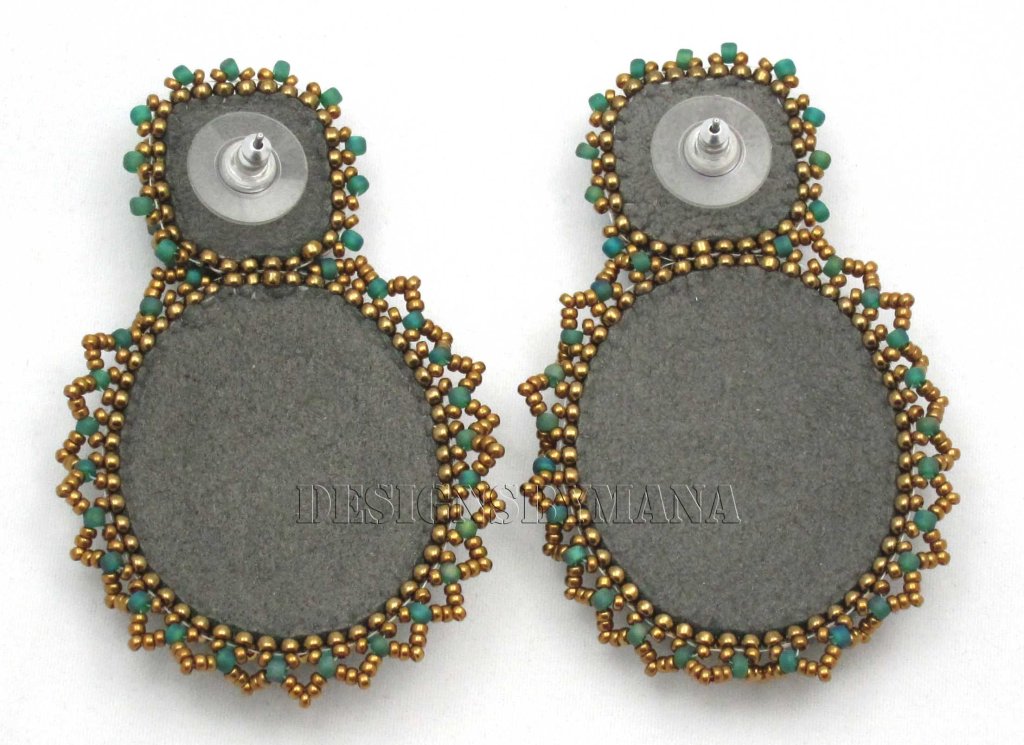
For the edge I did the all too popular picot edge but I really though the piece deserved a little bit more so I decided to experiment with filling out the space between the size 11/0 beads of the picot edge.
I was going for a rounded effect at first. I found out that adding four size 15/0 seed beads between each size 11/0 beads would just lie flat .in the next step I added five which I found with a little but of manipulation would make these pointy shapes and I was really excited about so I scraped the idea of having round loops around the earrings and went with this pointy edge.
I was going to keep these earrings for myself but I decided to list them on Etsy and I was glad and really surprised when they got sold. Good thing is I still have a few more of the main cabs left so I can make more of these if I ever wanted to!:D
LIST OF MATERIALS USED:
- VINTAGE GERMAN CABOCHONS
- 15x15mm SWAROVSKI CRYSTAL STONE
- MATTE TRANSPARENT MINT GREEN RAINBOW SEED BEADS SIZE 8/0
- METALLIC GOLD SEED BEADS SIZE 8/0
- MATTE TRANSPARENT DARK SEA GREEN IRIS SEED BEADS SIZE 11/0
- DARK METALLIC BRONZE SEED BEADS SIZE 11/0
- METALLIC LIGHT BRONZE SEED BEADS SIZE 15/0
- 10mm SURGICAL STEEL FLAT GLUE ON EARRING POST
- LACY’S STIFF STUFF
- GREY ULTRASUEDE
- FIRELINE THREAD 0.006 IN CLEAR
- E-6000
Posted by Mana © BeadFeast. All Rights Reserved


No comments:
Post a Comment